How to wet sand a car
Learning how to wet sand a car
Learning how to wet sand a car will take experience before anyone can understand it’s benefits and limitations. Accurate knowledge of wet sanding a car is critical to shortening the time it takes to gain experience.
Testing accurate knowledge gives instant results for comparing future attempts, which can either improve or worsen the situation.

Understand the materials that you are working with will also increase the chances of successfully meeting your goals. In some cases, a body shop may want to wet sand a fresh paint job. In other cases, a car detailing company may want to wet sand an original factory clear coating. Both are completely different things that we will cover in this article.
What is wet sanding
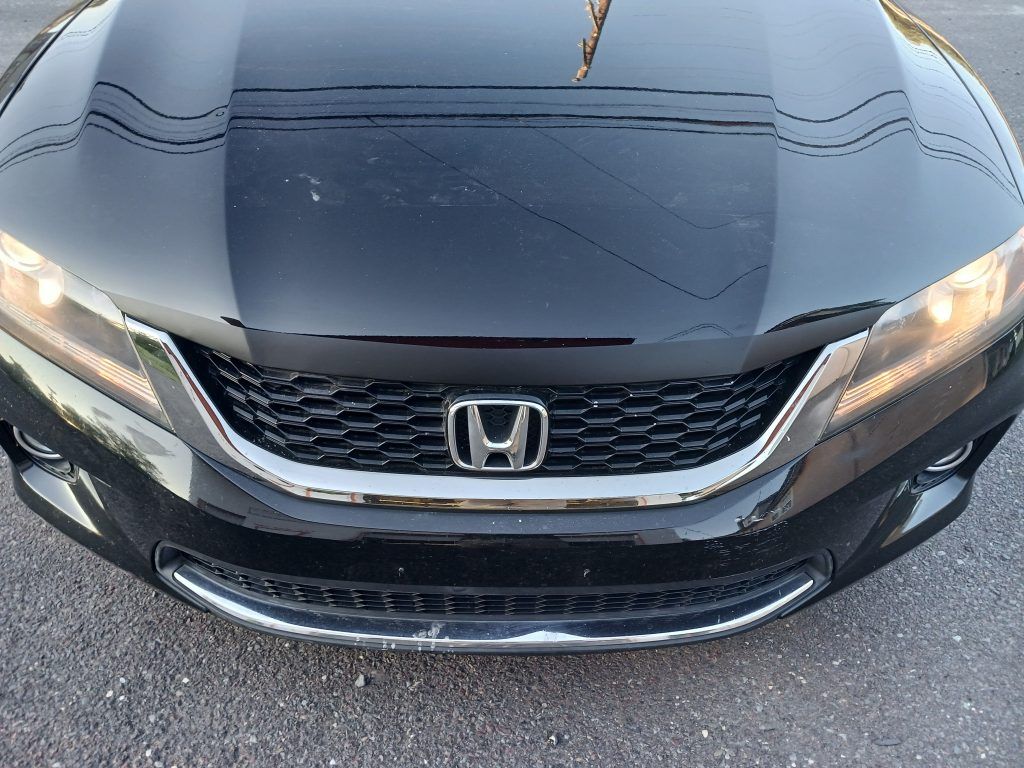
Wet sanding is the process used to remove very small amount of clear coat paint from a car in order to repair problems in the sheen or finish. Your factory’s clear coating is likely between 0.8-2mm thick, so you have a limited amount of protective finish to work with.
Wet sanding an original factory paint job
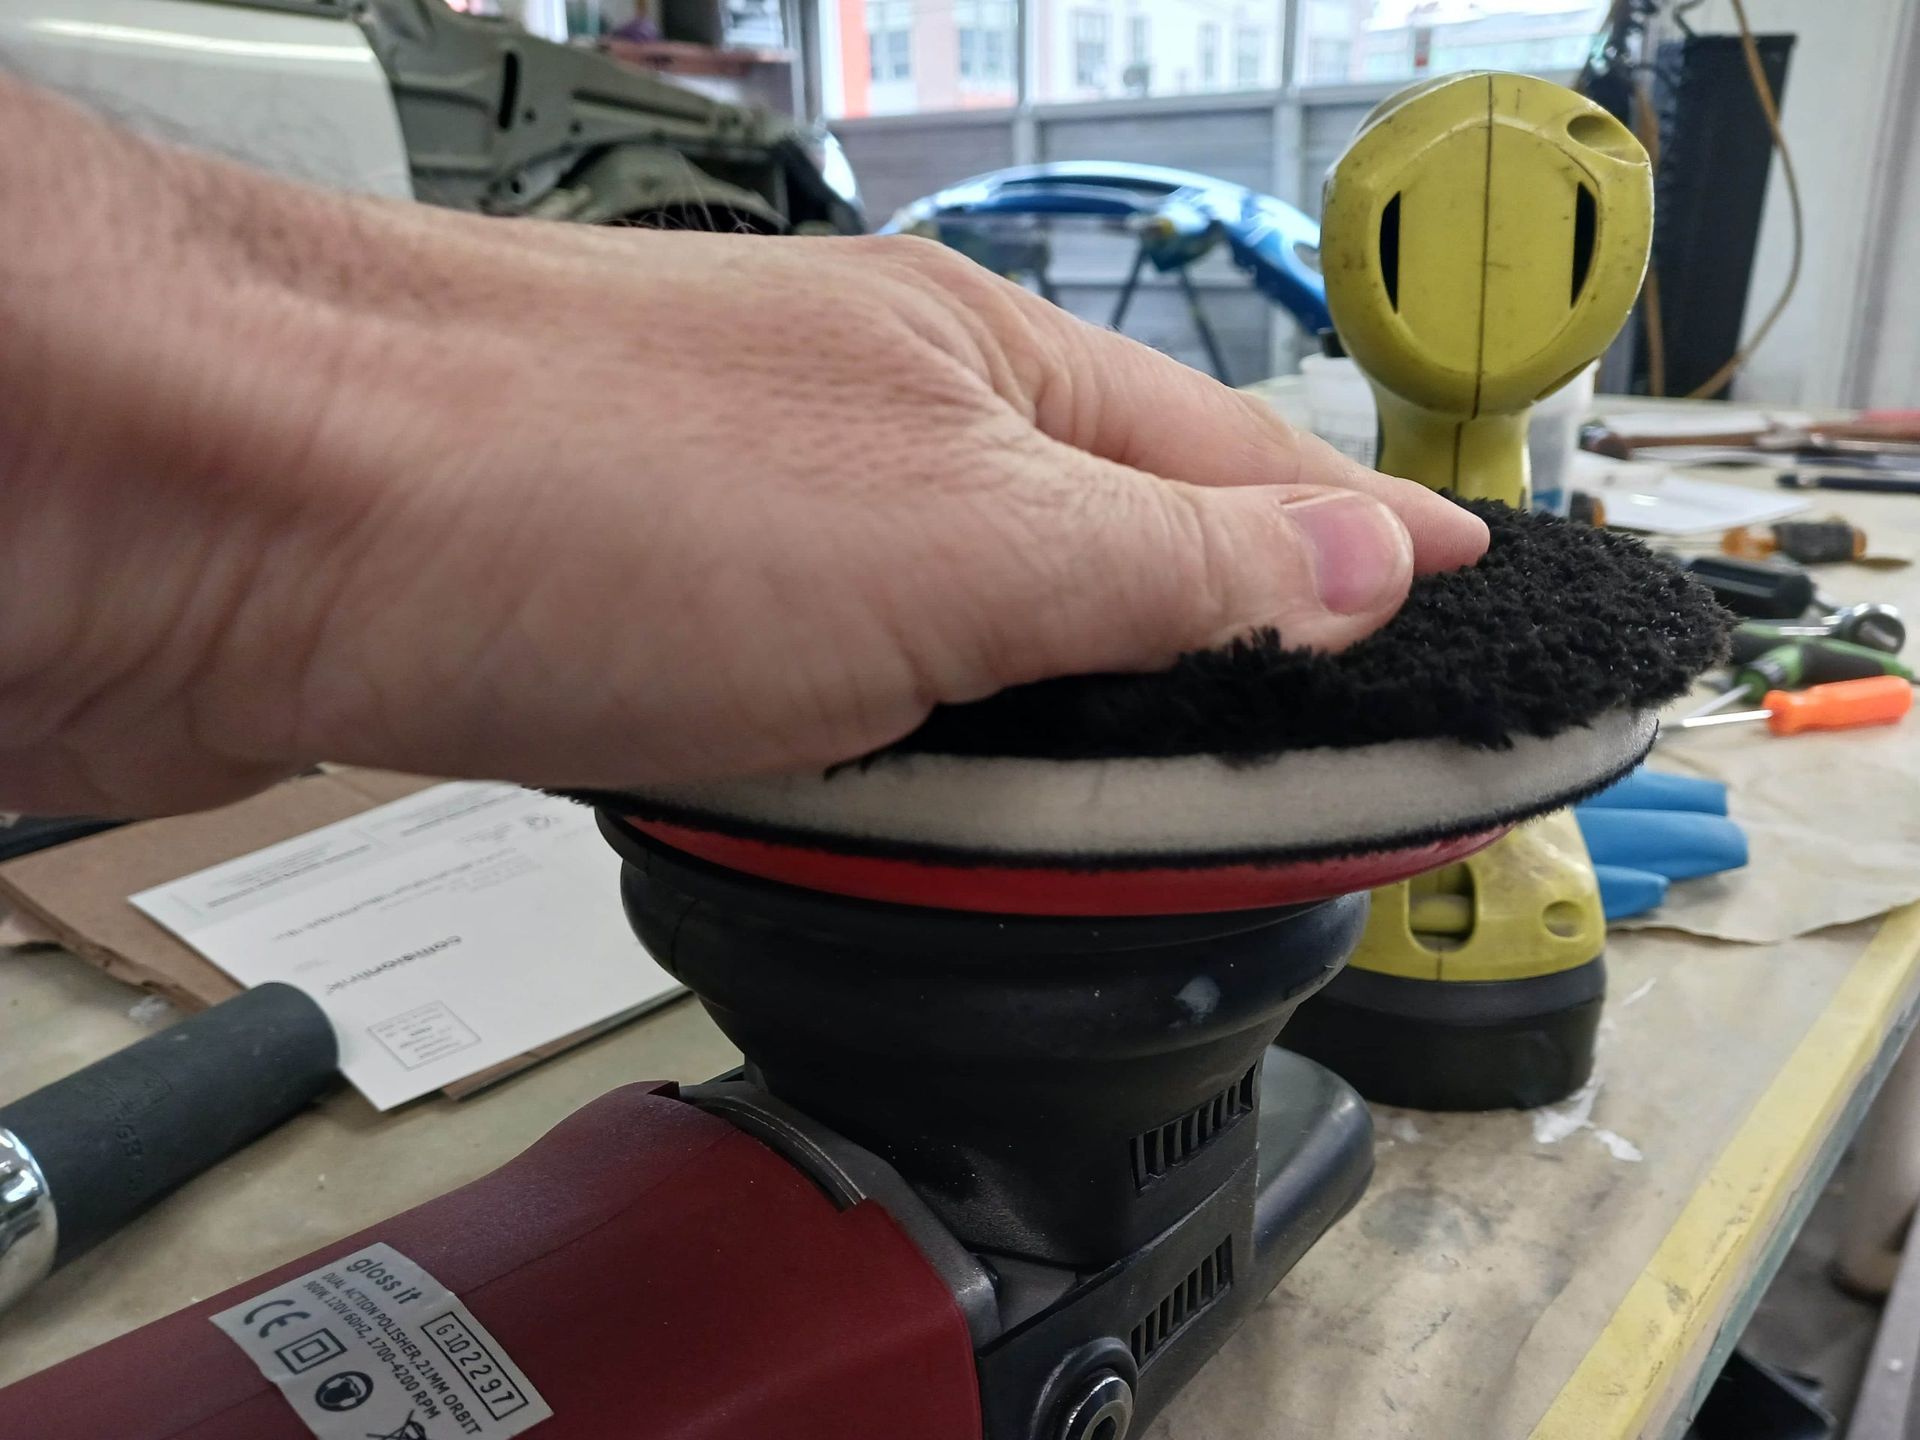
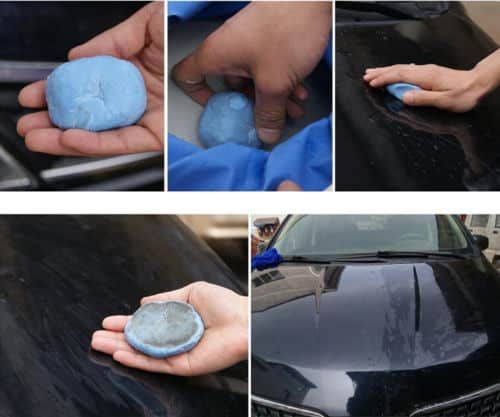
We only use 3m Trizact foam disk 3000 grit sandpaper on original factory paint. 99% of the time we use the Trizact paper with a short throw sanding machine to sand the surface. 3m Trizact paper will not leave sanding marks even when you apply pressure in a circular motion.
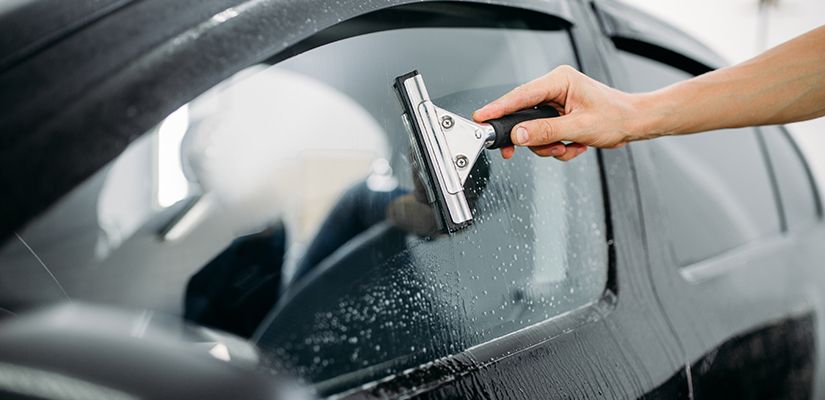
Keep the area wet with a squeeze cloth from a bucket of water otherwise use a spray bottle. Use wet sanding and polishing one after the other to gently shave down the painted surface in a controlled manner.
Wet sanding will smooth the edges of an inclusion on the clear coat, but it’s not sufficient to finish the task. You need a buffer machine for the next step and buffing pads also remove paint. This means that you will be working to shave off thin layers of paint with each step. Do not try to complete the sanding process in a single pass.
We’ll show you the 180 rule. Start by sanding the area until you feel you have completed about 30% of the task. Focus this first pass on the heavier scratched areas. Now buff the area of the car at 30% complete, clean with isopropyl alcohol and obverse the results.
Do this sanding and buffing process 2 more times. When your math has reached reach 180 then you are ready to continue buffing until it shines completely. The aim is to smoothly bevel the painted surface by wet sanding and polishing 3 times instead of once.
You can follow our blog topics to learn more about how the wet sanding process is also commonly used in
buffing scratches out,
tree sap removal,
bug removal,
tar removal and
road paint removal. Sometimes our ridiculously long
list of everything car detailing may be the best starting point for you.
Wet sanding a fresh paint job
1500 grit paper is too rough and will remove the orange peel effect in that area, creating bare spots in the finish texture. 2000 grit sandpaper will also remove the texture of the finish however it is easier to manage that lose. This is great for removing small dirt from new paint or matching the texture of new paint to a nearby panel. When we need to use course sandpapers like 1500 or 2000 grit, we always use a soft sanding block for hand sanding.
Wrap the wet sandpaper around a soft block and gently sand in a crisscross pattern to remove dirt nibs. Continuously spray soapy water around the block to keep everything wet. This will help remove the material evenly and as needed.
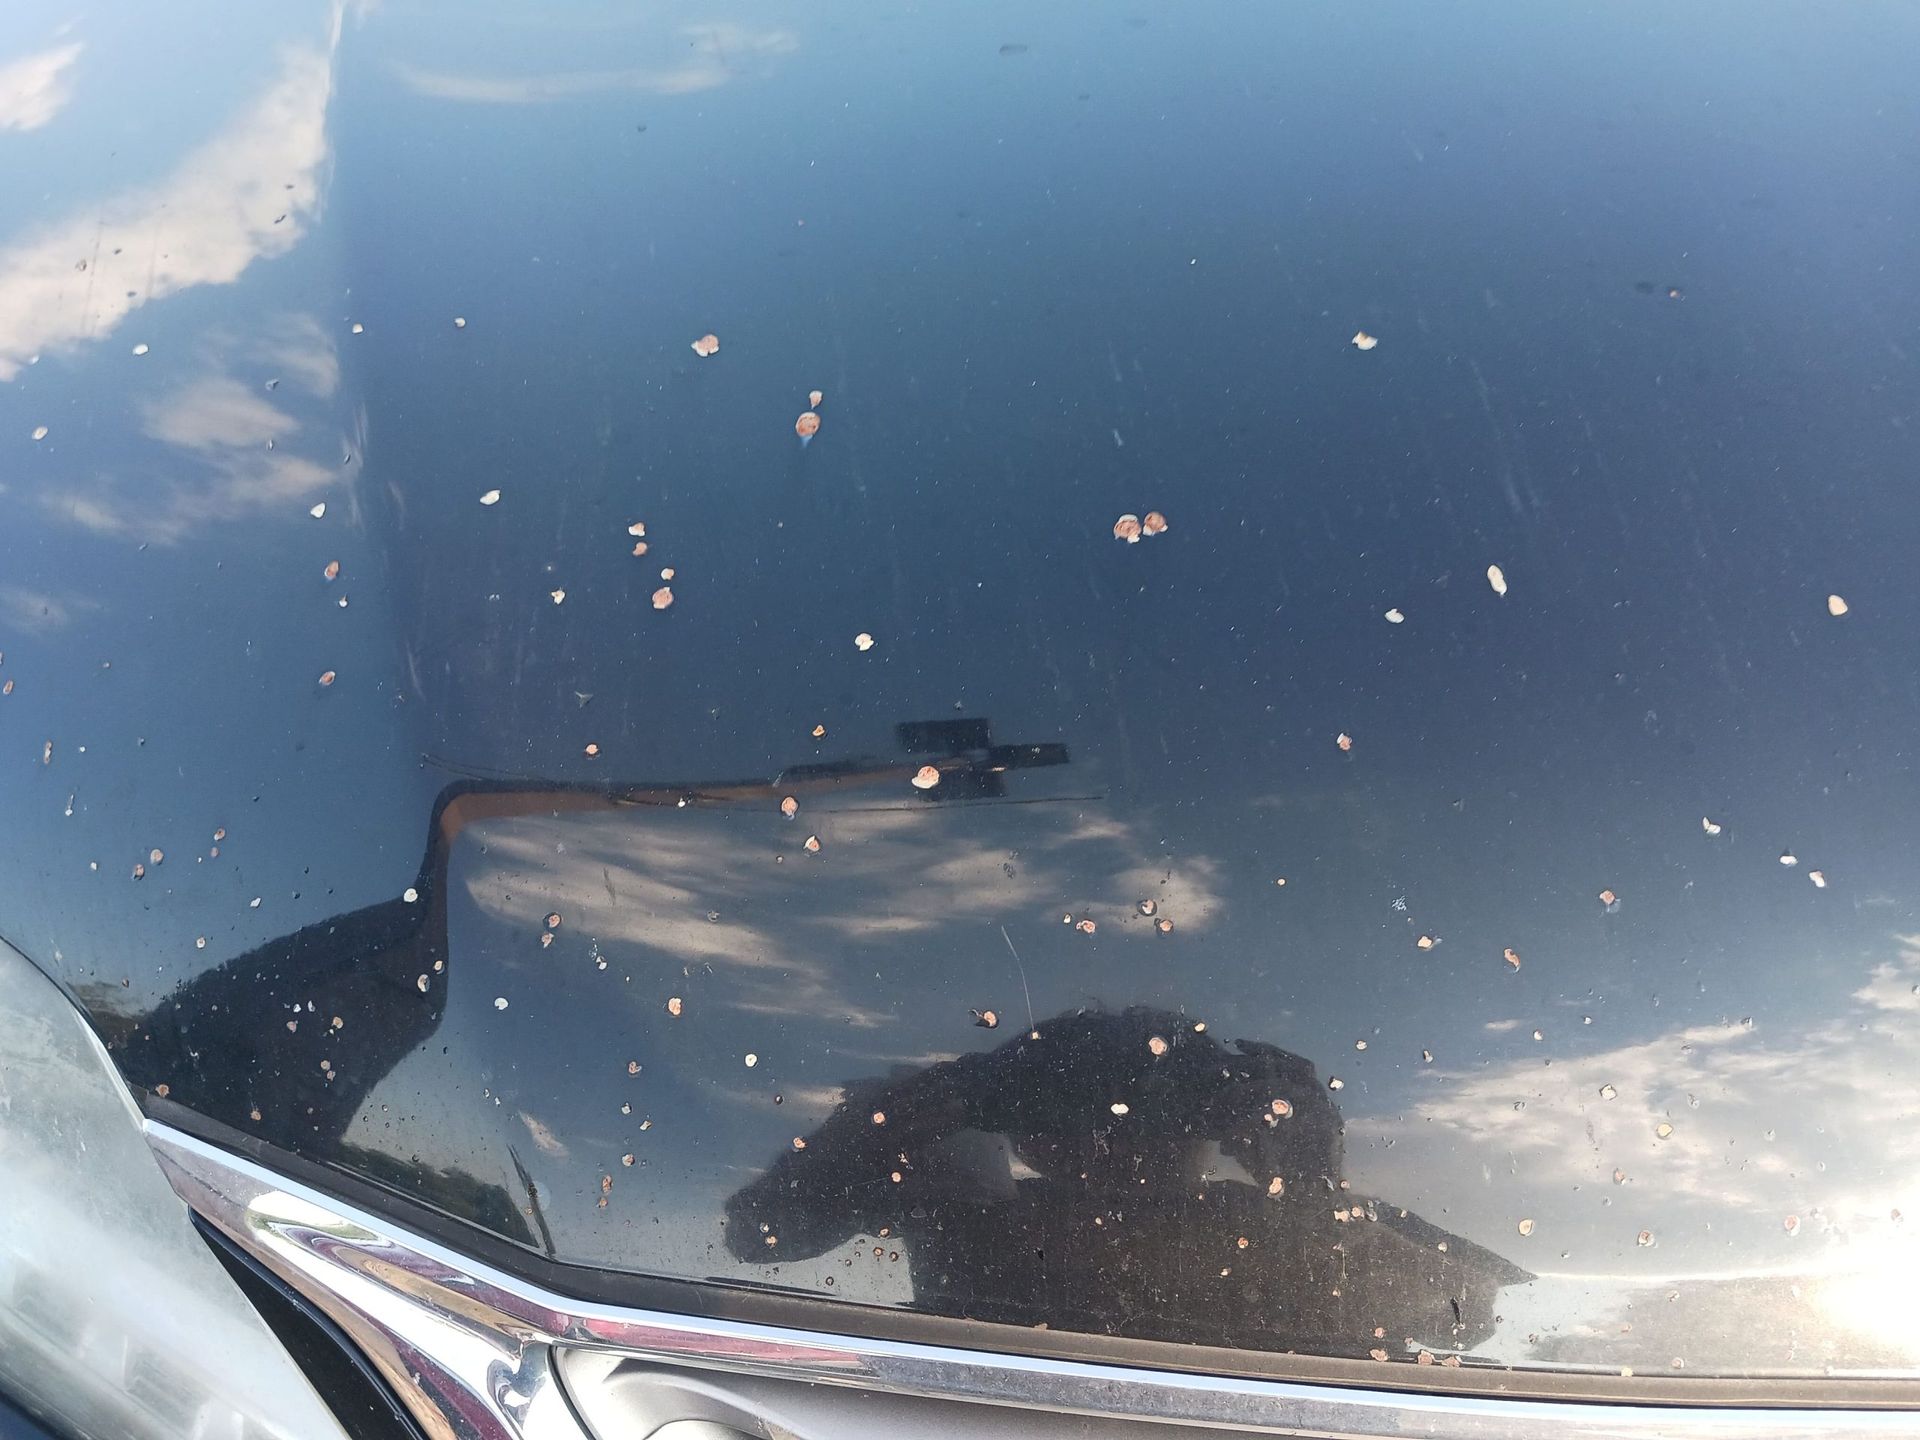
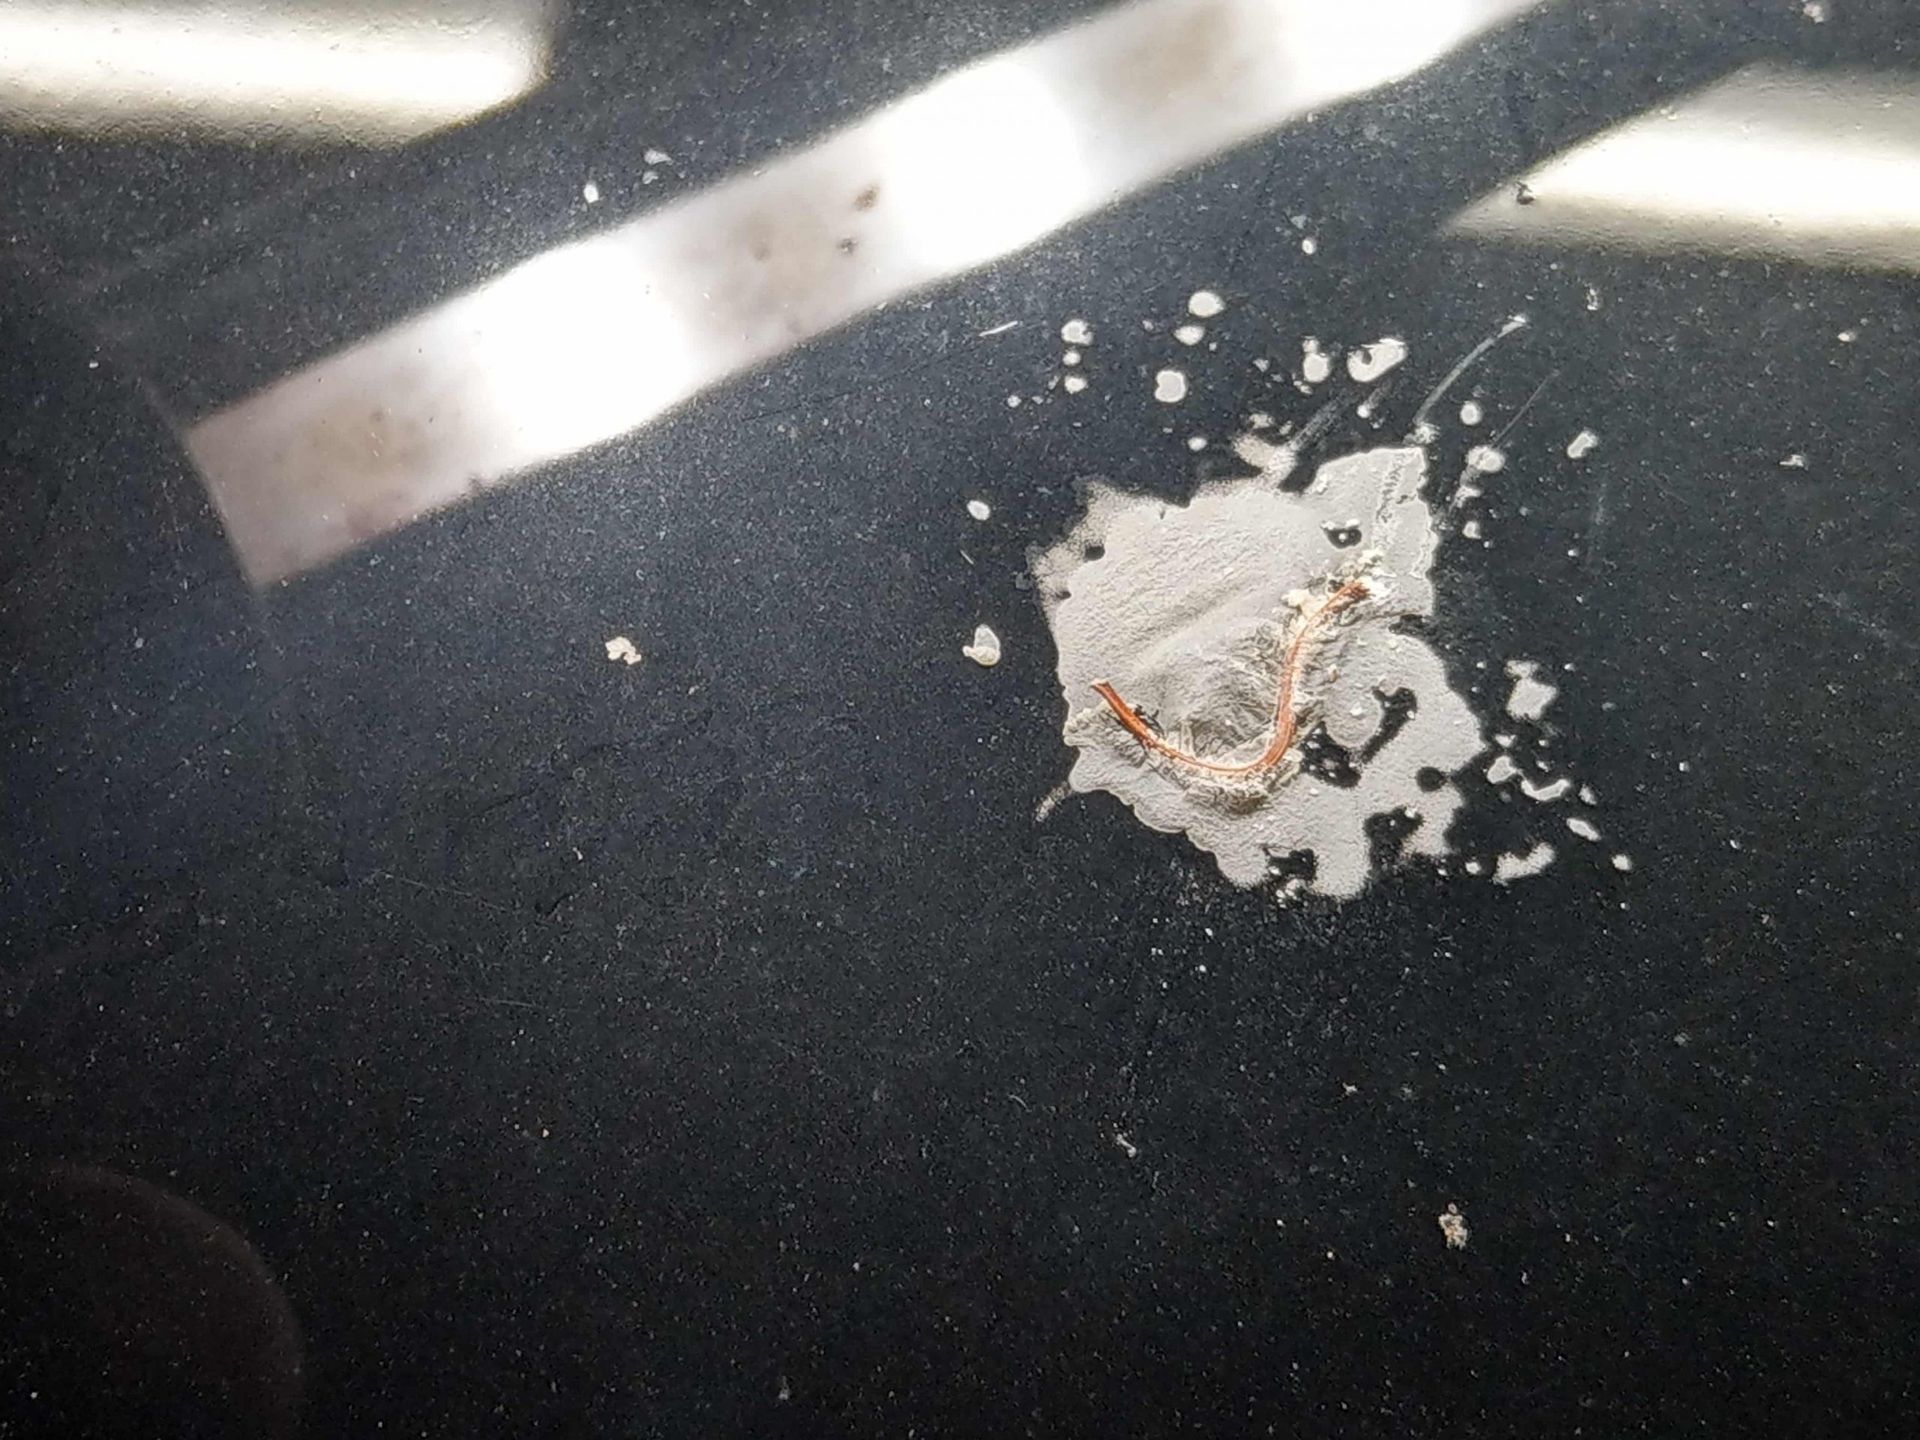
You can usually sand out dirt specs in the finish by 98%, but you cannot ever sand out fisheyes without making bald spots. As you try and sand down deeper into the fisheye you also remove all the painted finish.
Fisheyes are most likely an imprint left from a tiny gas bubble that was released during the set time of the paint. In order to reach its bottom, you will need to reach the bottom of that paint layer. Either repaint it or live with it. That’s how it goes.
We don’t use these rough sandpapers on factory finishes because they’re difficult to polish and could harm the thin clear coatings.